
How to Grow an
Avocado Plant
Avocado plants are easy to grow, especially if you are new to gardening. With just a few simple steps and a little patience, you can have a new plant in your garden. Here is just one way you can grow your own avocado plant from your breakfast scraps!


Step 1 Remove & Clean
Remove Pit & Clean Off Fruit
You’ll need to start by removing the pit from the avocado (without cutting it) and cleaning off the fruit. The best way to do this is by scooping it out with a spoon. Occasionally, you will find a pit that has already started to crack. These are great to use, because roots have already started to develop!

Step 2 Soak & Peel
Soak Pit
Once removed and cleaned, place the pit in a glass of water for 24 hours. If you eat an avocado but are not ready to plant the seed right away, you can wash avocado pits and keep them in a jar of water so they don’t dry out. They can stay like this for several weeks until you are ready to plant them.

Peel Skin
After it has soaked, you should be able to easily peel the skin off of the pit. Identify the top and bottom of the pit. The top is slightly pointed, like the top of the avocado fruit and the flatter end is where the roots will emerge from. When all of the skin is removed, you are ready for the next step!
Step 3 Wrap & Watch
Wrap Pit
To start the germination process, wrap the pit in a sheet of damp paper towel or a tea towel. Make sure that the towel is just damp and not dripping wet, so it will be less likely to mold.

Step 3 Wrap & Watch
Wrap Pit
To start the germination process, wrap the pit in a sheet of damp paper towel or a tea towel. Make sure that the towel is just damp and not dripping wet, so it will be less likely to mold.

Place in Bag
Place the wrapped pit in a plastic bag or air-tight container and store in low light at room temperature. Check on your pit every few days to see its progress and to change out the paper towel if it begins to mold or dry out.
Watch for Growth
In 2 to 8 weeks, the pit will gradually crack open and a root will start to emerge. Handle it with care and don’t break it apart—the pit protects and feeds the new roots. When the roots grow beyond the bottom of the pit, it’s time to prepare a glass of water.

Watch for Growth
In 2 to 8 weeks, the pit will gradually crack open and a root will start to emerge. Handle it with care and don’t break it apart—the pit protects and feeds the new roots. When the roots grow beyond the bottom of the pit, it’s time to prepare a glass of water.

Step 4 Water & Wait
Place in Water & Wait
Choose a glass that has a small opening or create a funnel so the roots stay submerged and place in indirect light. If algae starts to grow, replace the water. In 7 to 8 weeks a stem should start to grow out the top of the seed. When the roots are about 3 inches long and leaves start to grow, you can either keep the plant in water or plant it in soil.
Step 5 Plant & Prune
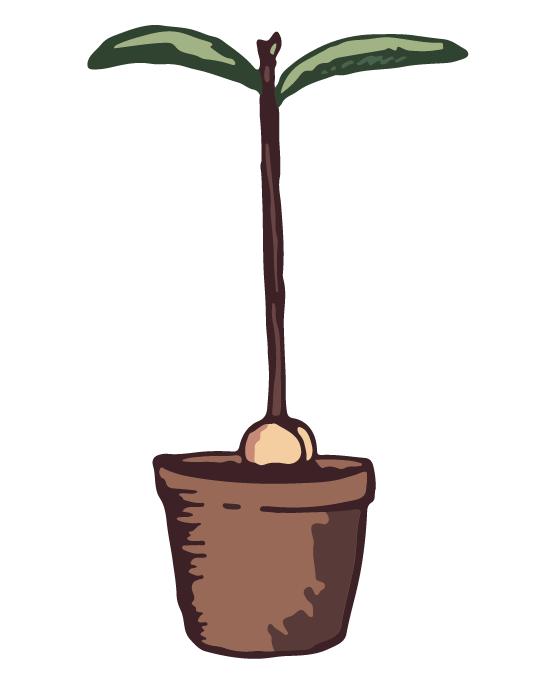
Plant in Soil
Plant the pit in well-draining soil and leave partially exposed. Place in a warm location in indirect light and only water when the soil is completely dry. You can feel down into the soil near the edge of the pot to make sure it is completely dry.
Step 5 Plant & Prune
Plant in Soil
Plant the pit in well-draining soil and leave partially exposed. Place in a warm location in indirect light and only water when the soil is completely dry. You can feel down into the soil near the edge of the pot to make sure it is completely dry.
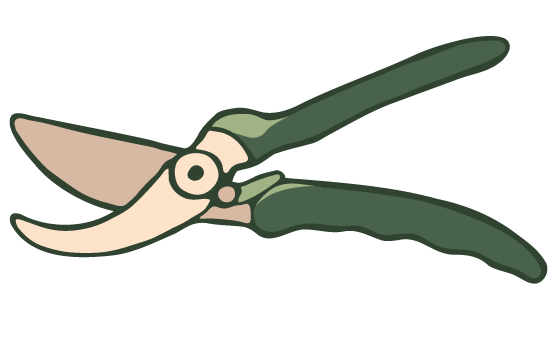
Prune for Fullness
After the stem of your plant grows to about 8 inches, you will need to prune it to encourage new growth. Sterilize your shears and cut the stem to about 3 inches. In a few weeks, your stem should have grown back and have even more leaf nodes! Continue pruning to encourage fullness. You can keep your plant indoors or plant outside in the ground.